Backyard Aluminum Casting Foundry
Background
My personal manufacturing abilities are very limited, as I only have some standard tools and a garage to work in. I have very little ability to manufacture anything metal, with a drill press being one of the only desktop tools at my disposal. To remedy this, I built a small charcoal foundry meant for melting aluminum and other low-temperature metals. This comes from a YouTube video by The King of Random (watch the video here: https://www.youtube.com/watch?v=hHD10DjxM1g&t=336s&ab_channel=TKOR ), so the design is not mine.
General Description
The design centers around blowing air onto charcoal set around a crucible. A thick layer of plaster of Paris and sand insulates the metal bucket, and a lid made of the same material traps the heat in. A hole is made in the lid for gas release, and a hole in the side of the bucket is drilled for the input air. This is provided by a hairdryer blowing through a steel tube that sits in the hole. The added air heats the coals to a high enough temperature to melt aluminum, although theoretically it can do higher temperature metals such as brass or even copper.
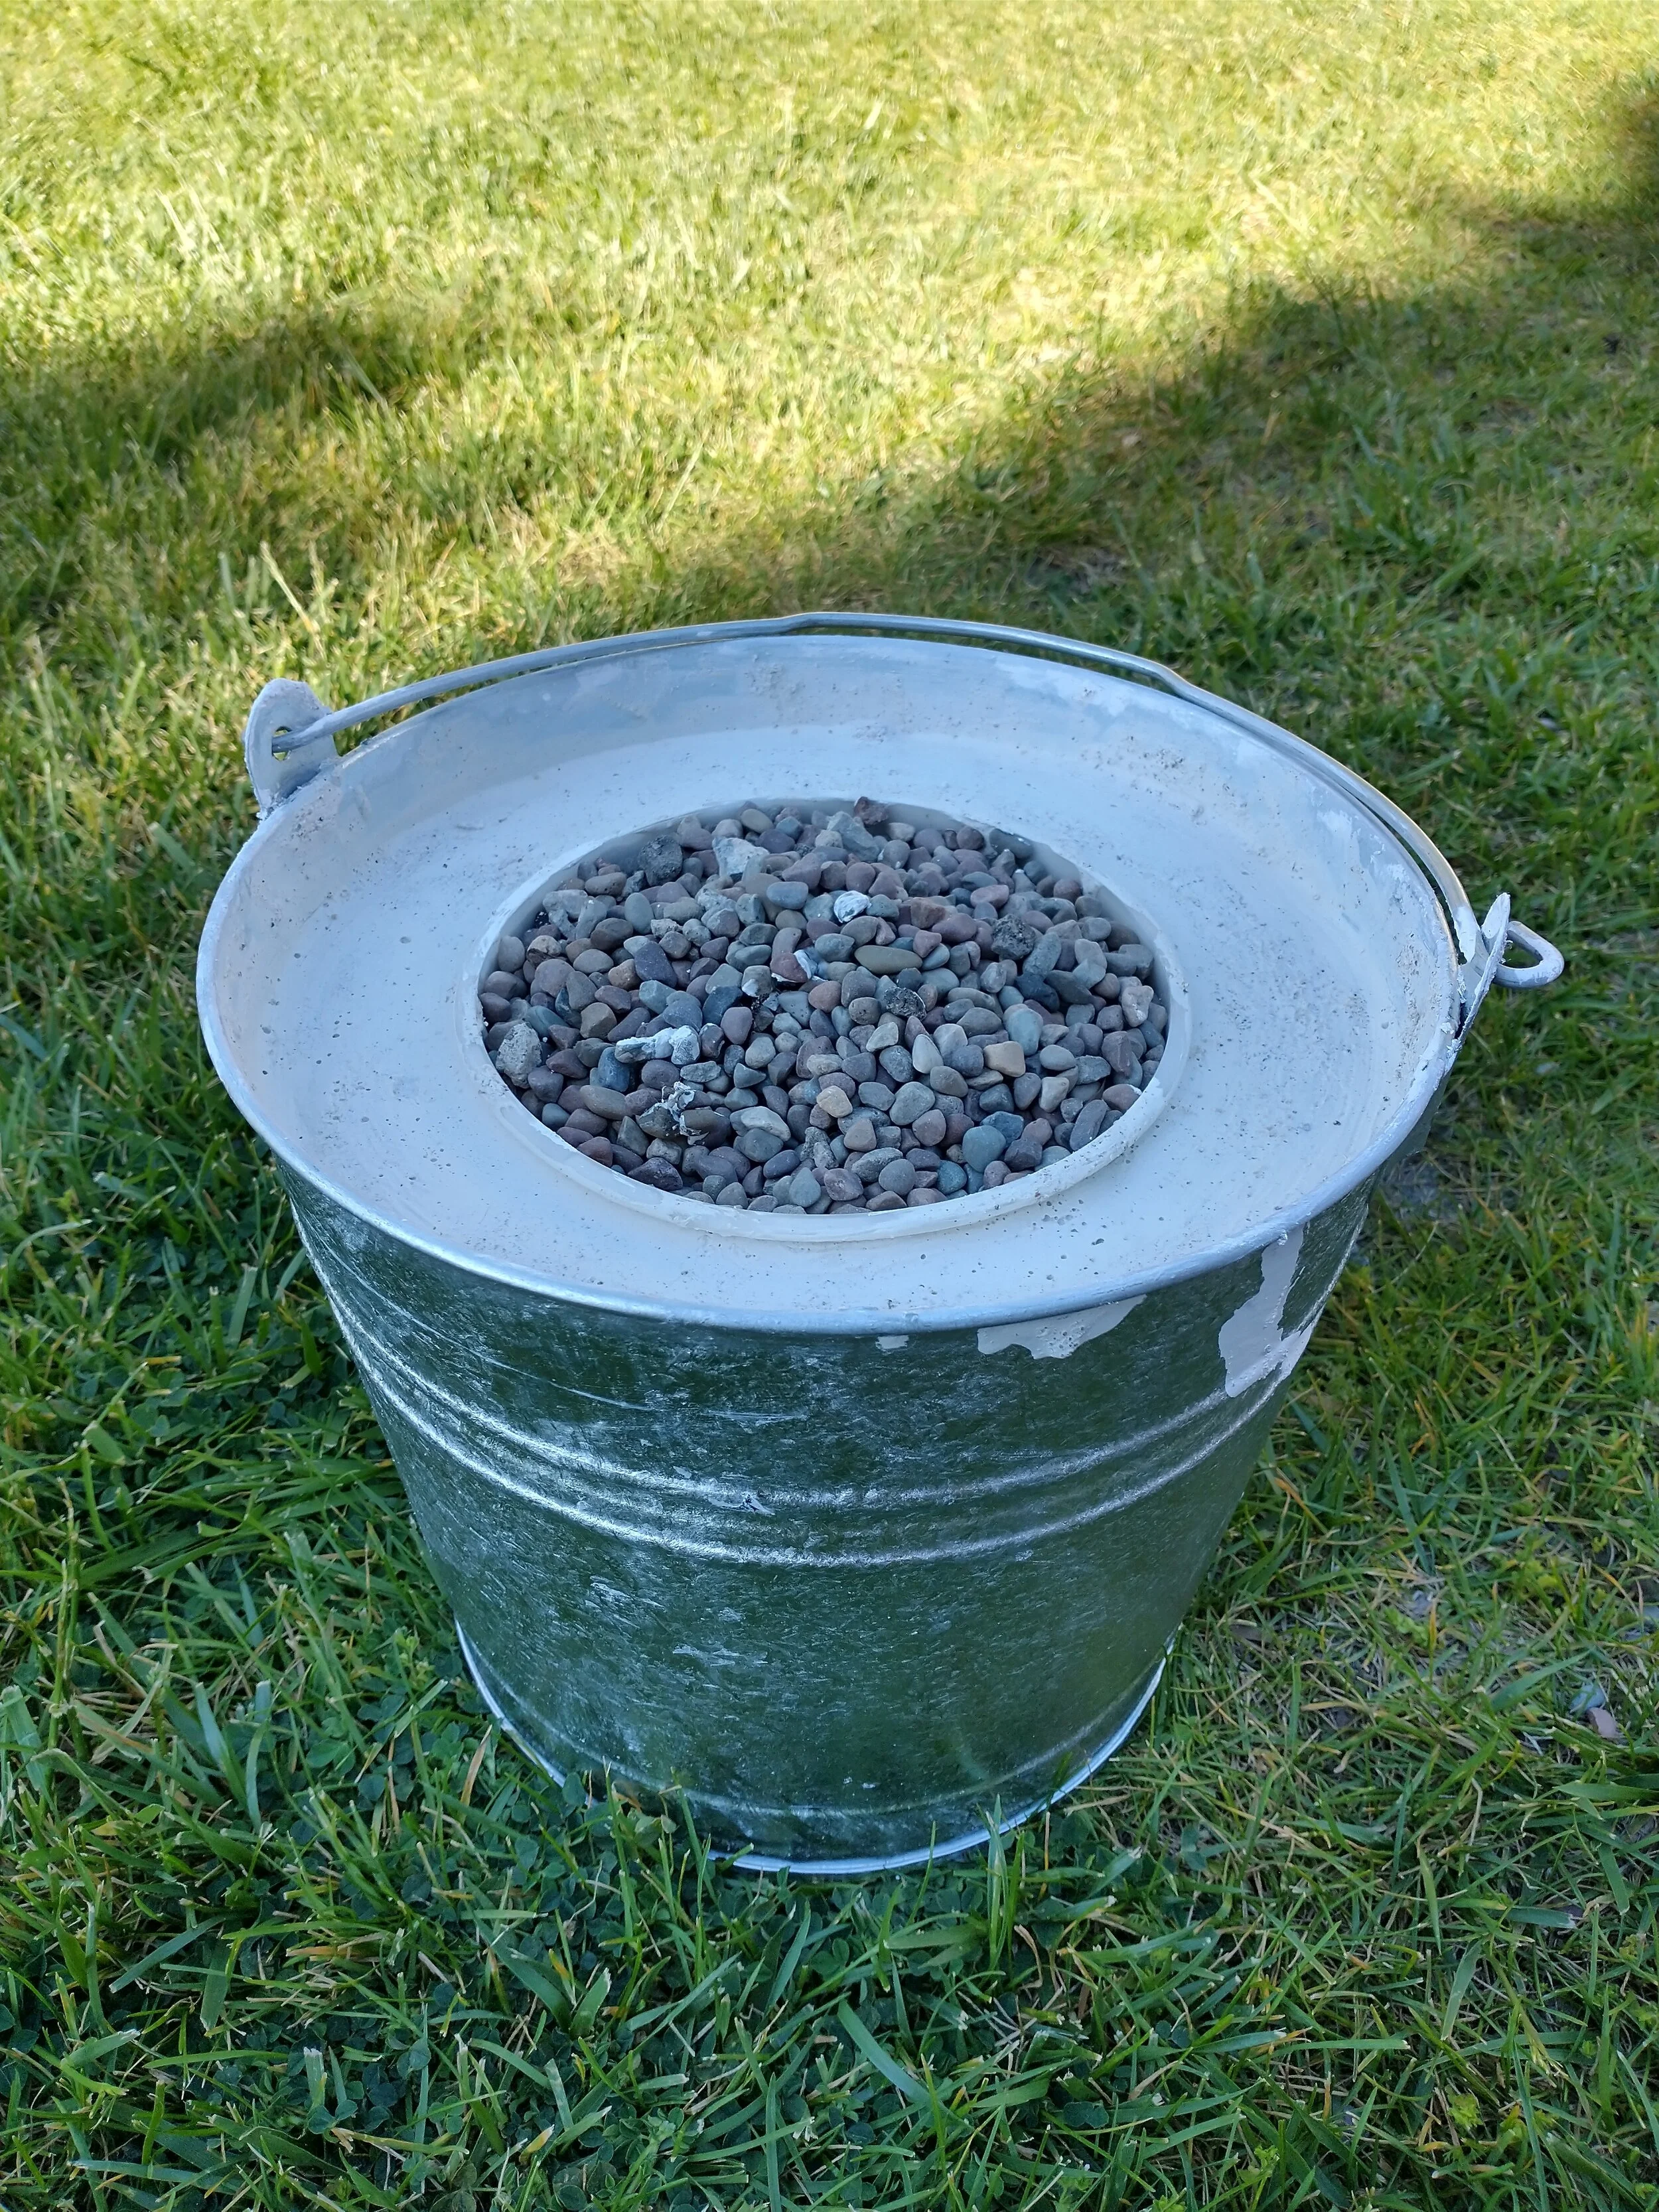
A picture of the foundry while the plaster of Paris is drying. The rocks are to keep the plastic bucket in the right spot as it cures.

A view of the foundry in operation. You can see the charcoal embers burning in the middle.

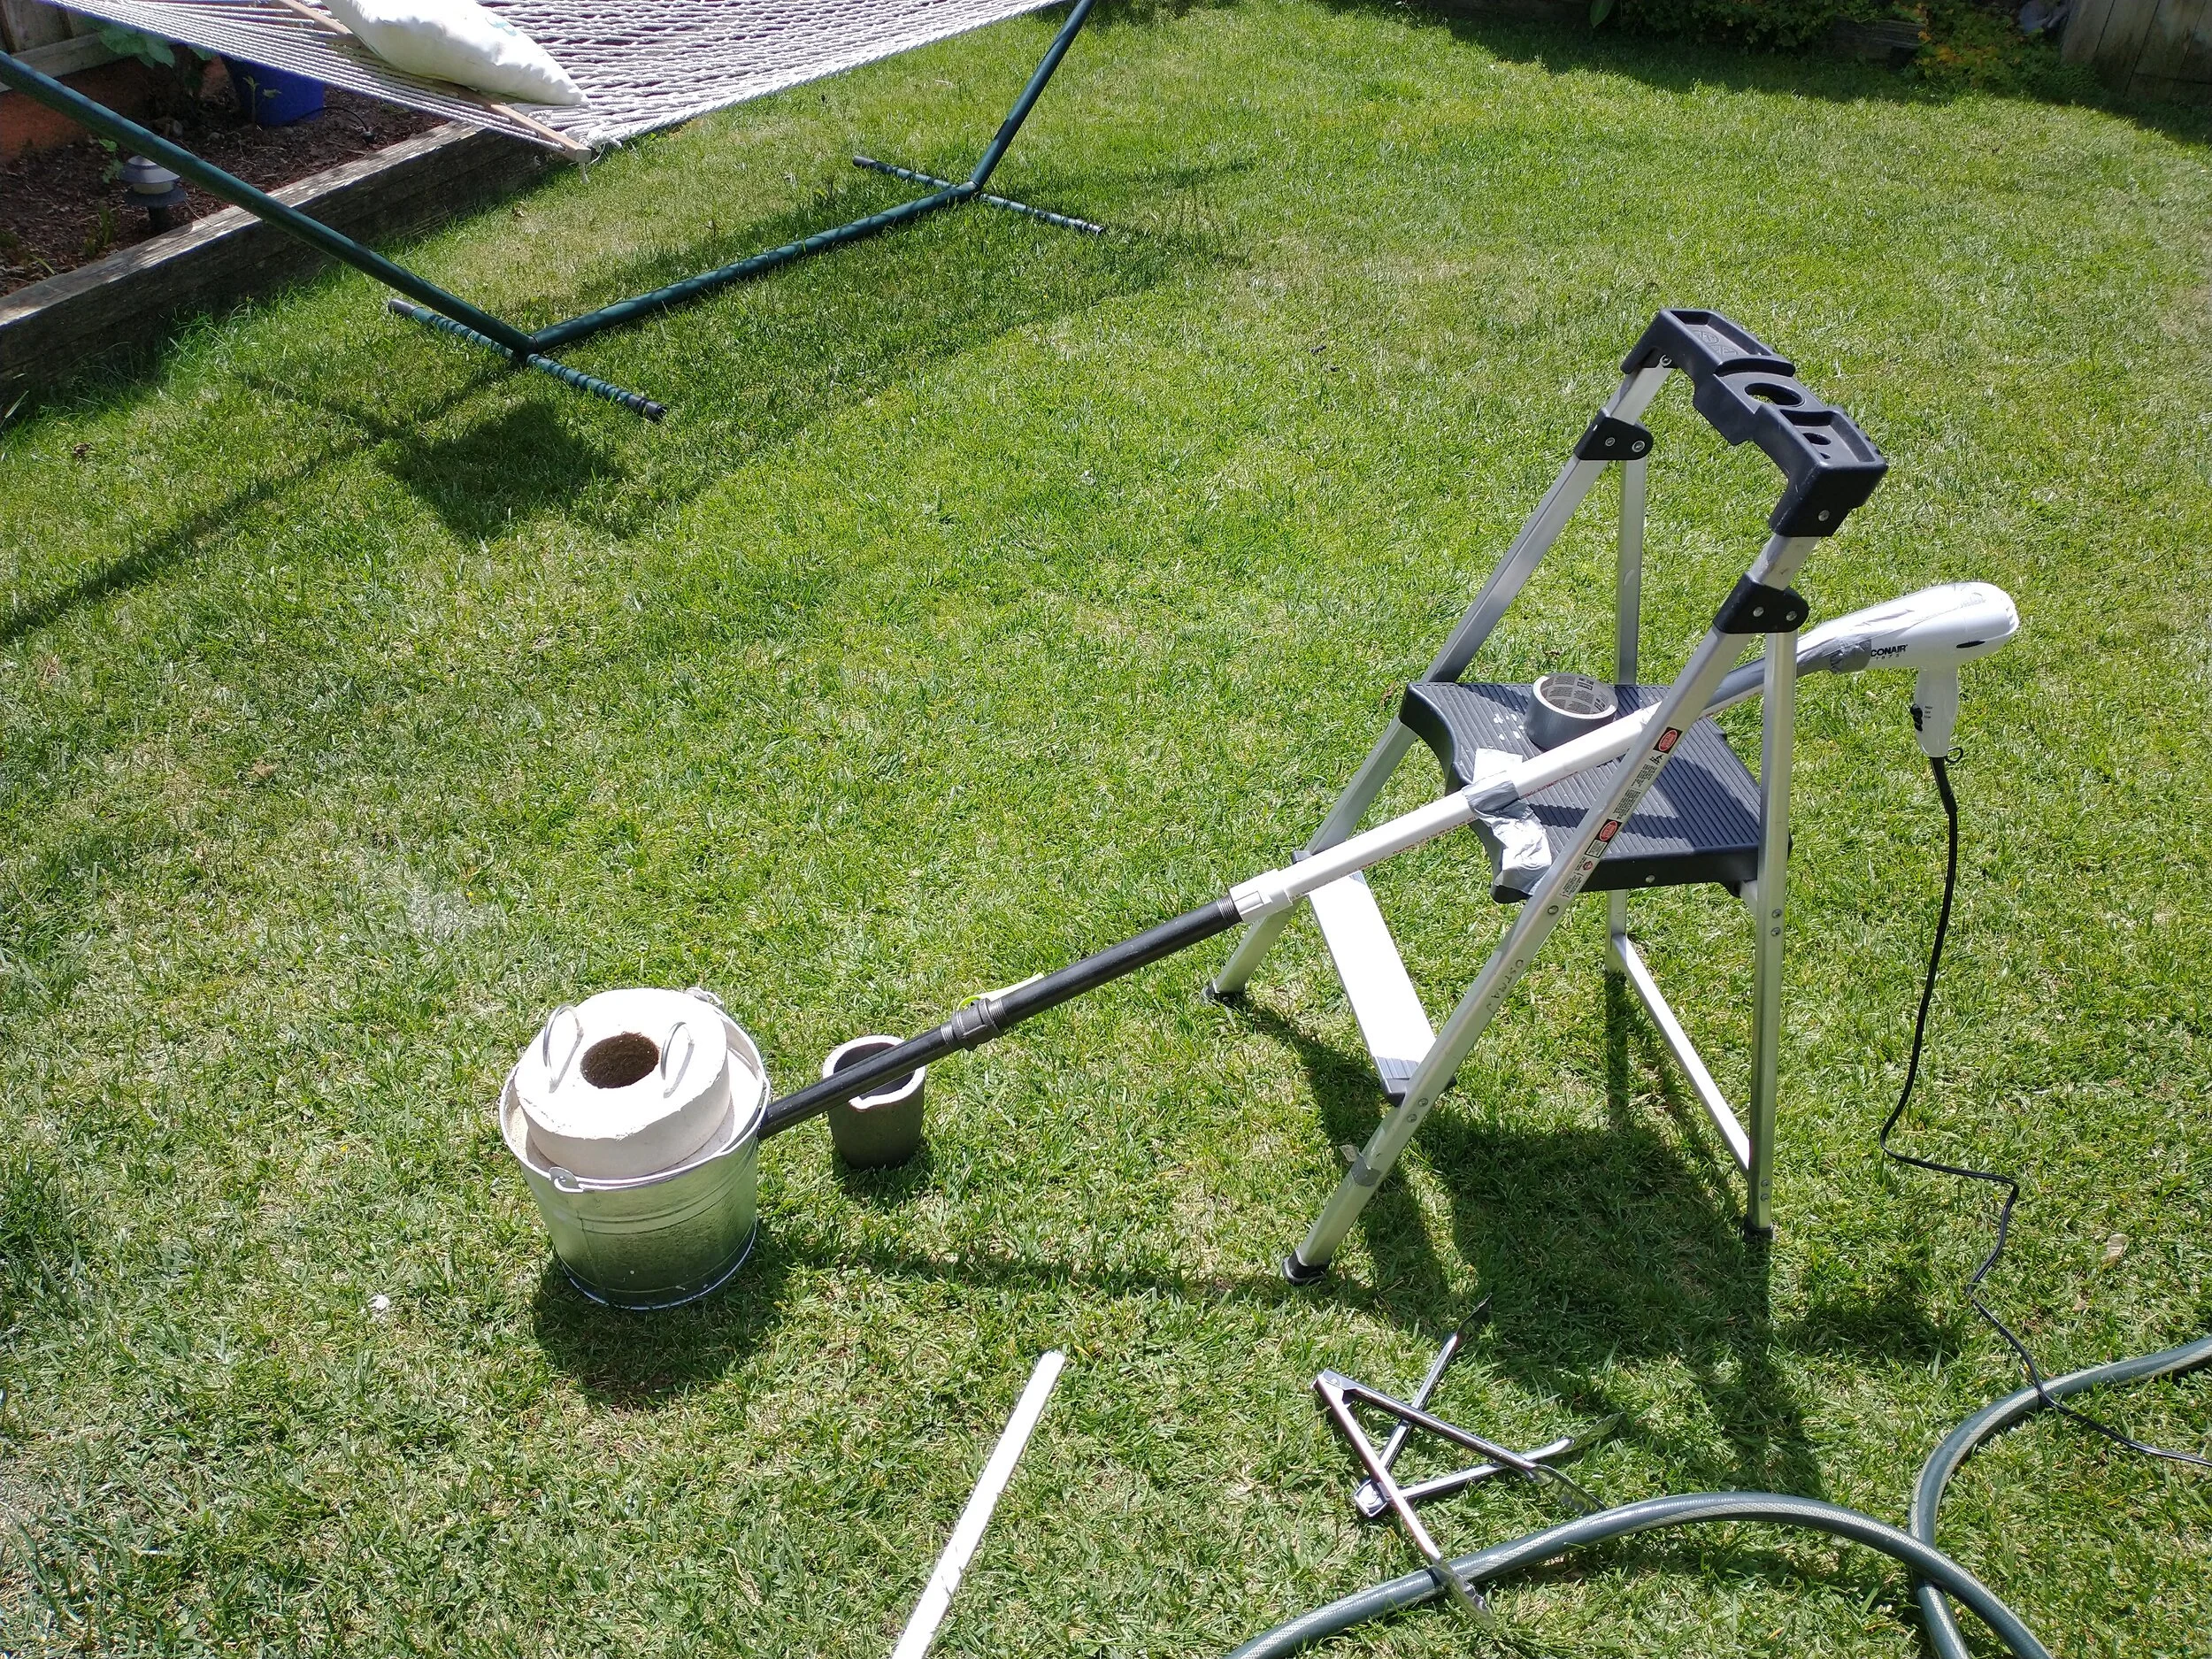
A view of the setup. The hairdryer can be seen here, as can the steel tube that directs the air into the side of the bucket.
Results
The foundry melts aluminum on a small scale quite well. With any large amount of aluminum it struggles, however, and takes a very long time to melt. Below are some photos of some preliminary casts I have done, with varying success. The biggest challenge I am facing now is how to make the molds for these casts in a way that is good for both details and ease of use. So far I have tried lost PLA casting and making sand molds, and neither does all the things I want them to (pictures of the results of both methods can be seen below). I think for the next step, I might try some type of investment casting, but baking out the PLA or wax positive still proves a problem for me due to available heating methods.

The results of a single walled PLA master. I poured the molten aluminum directly into this shell, and it mostly failed to melt and displace the PLA.
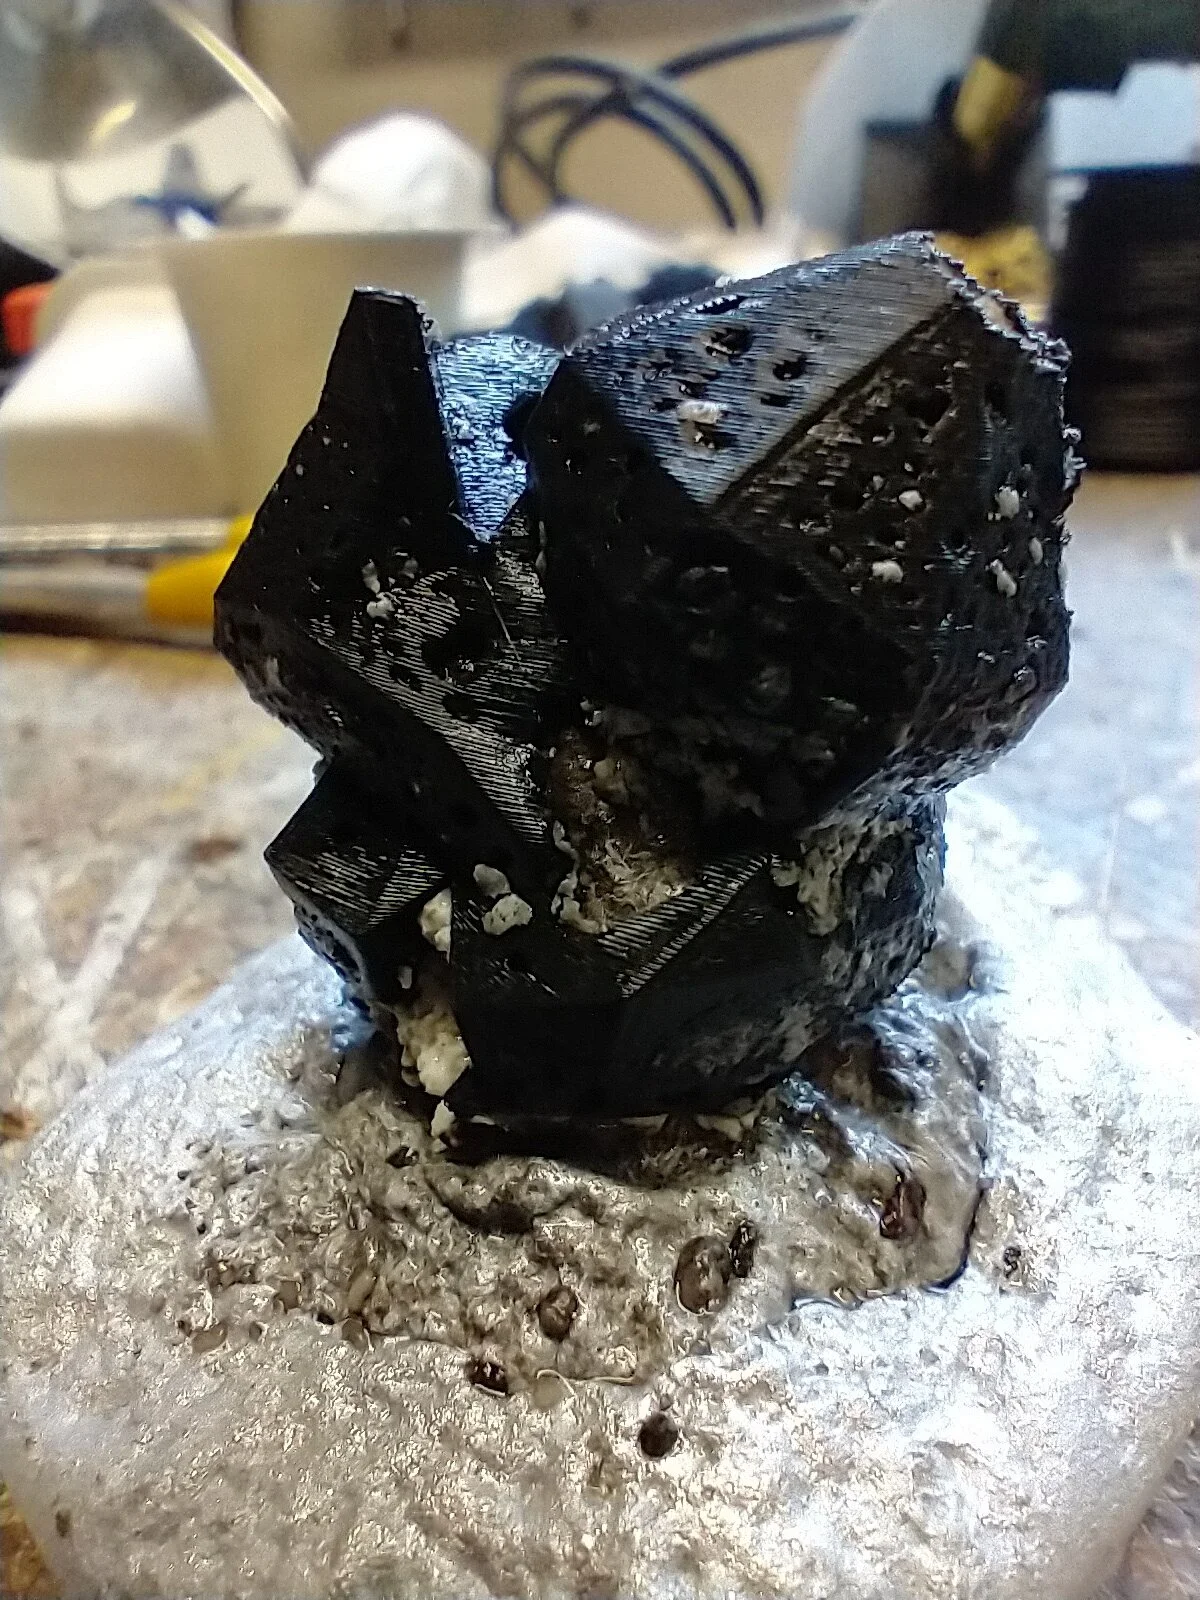
Another view of the results of the "lost" PLA method.


A view of the removed aluminum from the above photos.

The cast next to a larger 3D printed version for comparison. You can see there is very little detail shown in the cast and most features are warped.

The cast is still recognizable but very low fidelity.

A cast using a two part sand mold next to the master used to make the mold. Unfortunately I didn't melt enough aluminum before pouring, so the ring isn't complete.

The fidelity of this method was pretty decent, with the grooves from the master showing up. Some bubbles are present, however, but overall the result was fairly accurate to the master.

A back view of the cast. The surface finish can be seen with minor bubbles.